
Finally typing up this tutorial on how I made my advent calendar. When I saw this advent calendar from The Land of Nod, I thought I could make one similar. So here goes in my attempt to tell you how I put it together:)
***
Supplies:
2 pieces of muslin 12.75 inches x 16.75 inches
1 piece of thin cotton batting 12.75 inches x 16.25 inches
enough felt (use whatever colors you wish) to cut 24 2.25 inches x 2 inches pieces + the numbers for the pockets (I ordered this felt from this shop and the quality rocks and 10 pieces is plenty for this project!)
about 8 inches of ribbon
basic sewing supplies
Instructions:
 Step 1: Cut 24 pieces of felt squares that measure 2.25 inches x 2 inches.
 Step 2: Trace numbers 1-24 onto felt and cut them out. You could print off the numbers from word and cut them out and trace them, in the font and size you like, or you can dig through your scrapbook stash like me and find some chipboard numbers that are the right size. I used this chipboard alphabet set from Pink Paislee.
 Step 3: Press your muslin and batting. *I do this before cutting my fabrics to size, to ensure the correct sizes:)
 Step 4: Layer your 2 pieces of muslin with the batting ON THE BOTTOM (not in between the 2 pieces of muslin). Pin 3 sides together, leaving the side where the batting doesn't reach the end unpinned.
 Step 5: Top stitch the 3 sides that are pinned, leaving a 1/2" seam allowance. Make sure you back stitch at the ends to reinforce the seam.
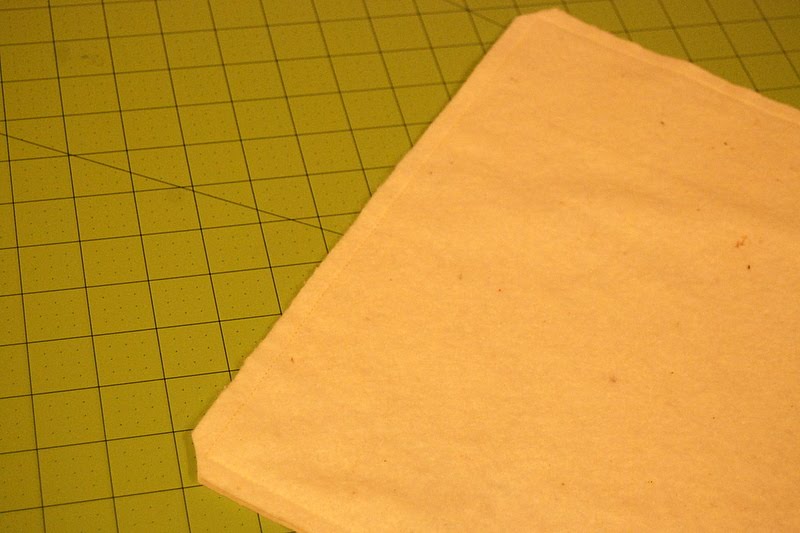 Step 6: Clip the top 2 corners (not the open end) and turn inside out so that the batting is in between the 2 pieces of muslin. Poke out the corners with a bone folder, then press your rectangle.
 Step 7: Fold in the open pieces of muslin 1/2" and pin together. Press.
 Step 8: Pin the ends of the ribbon (to make a loop) about 1/2" in between the 2 pieces of muslin. Do this on the open end you just pressed, in the middle of the calendar. Top stitch all the way around your calendar with a 1/4"seam allowance, back stitching at the start and stop points.
 Step 9: Place your felt squares on the calendar in whatever pattern is pleasing to you and pin down. Make sure the longer side is running horizontal with your calendar.
 Step 10: Top stitch your pockets on. Only stitch 3 sides, making sure the top part (remember that the ribbon is the top of the calendar) is open.
 Step 11: Lay your numbers on the sewn pockets.
 Step 12: Glue on the numbers with tacky glue or felt/fabric glue. You COULD have sewn on your numbers on the pockets before you sewed on the pockets, but I went the easier route, plus I already had sewn on my pockets when I realized that if I sewed on the numbers I wouldn't be able to open the pockets. Duh. This is what happens when you are a very novice sewer and are making something up as you go along. And when it is about 2 hours past your bedtime:)
 Ta Da! You are done! You could of course change the measurements to your desired size. As you can see, the candy cane is a little tall for the pockets:) I plan to go a teeny bit healthier route and buy snacks I normally don't buy, like yogurt covered raisins, pretzels, and fruit strips with the occasional sweet thrown in:)
Oh, and sorry the colors are so off here...I was sneaking in time whenever I could to do this, so I couldn't be picky with the light:)


1 comment:
You are just too BUSY!!! Slow down, girlfriend! I love your brightly colored advent calendar. I just bought one from Target's dollar spot. It's smaller than yours, but serves my purpose. (I actually bought two. Zoey won't be interested this year, but the other two would fight over who gets to move the little star!) Sigh...
Post a Comment